
Harbor私有仓库搭建
Harbor是由VMware公司中国团队为企业用户设计的企业级私有Registry服务,Harbor提供了更好的性能和安全。提升用户使用Registry构建和运行环境传输镜像的效率。Harbor支持安装在多个Registry节点的镜像资源复制,镜像全部保存在私有Registry中, 确保数据和知识产权在公司内部网络中管控。另外,Harbor也提供了高级的安全特性,诸如用户管理,访问控制和活动审计等
安装Harbor
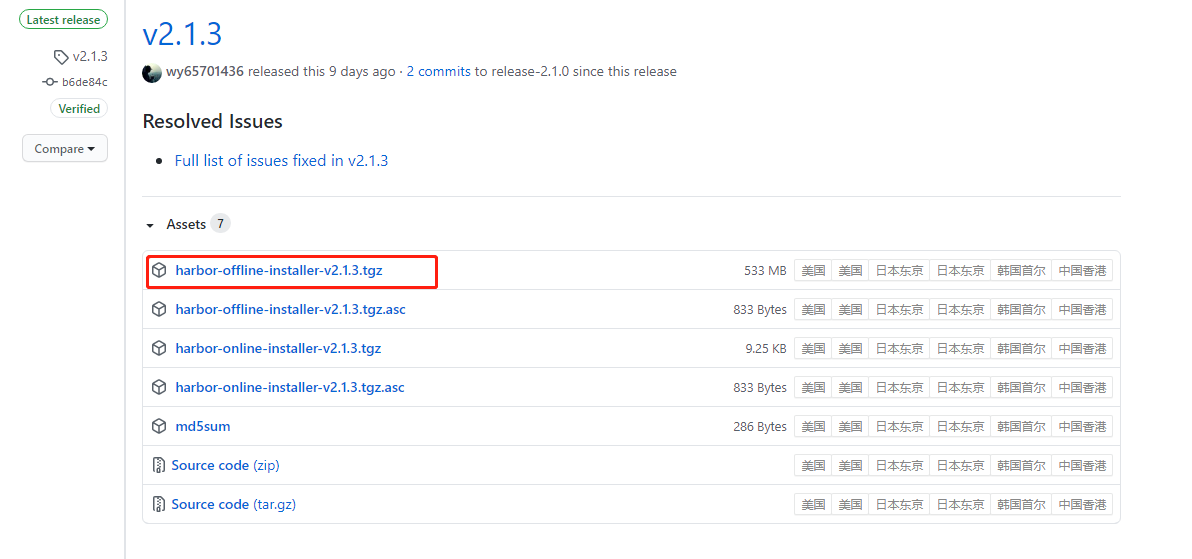
harbor的安装依赖docker和docker-compose,确认基础环境已安装好docker和docker-compose后,访问harbor官方git仓库Releases · goharbor/harbor (github.com)下载release版本:
下载完成后,解压出的目录内,有prepare可执行文件,用来做安装前的环境检查,将harbor.yml.tmpl文件重命名为harbor.yml,编辑该文件,修改内容如下:
- hostname: reg.mydomain.com,修改为当前服务器IP,或者为harbor准备的域名,用来访问harbor
- 如果不使用https,需要注释掉https的所有项,不建议使用harbor提供的https,应当通过nginx反向代理实现https
https:
# https port for harbor, default is 443
port:
443
# The path of cert and key files for nginx
certificate:
/your/certificate/path
private_key:
/your/private/key/path
- harbor_admin_password: Harbor12345:harbor的UI后台管理员密码
- 数据库配置,数据库密码安装完成后无法修改,所以安装前必须设置
database:
# The password for the root user of Harbor DB. Change this before any production use.
password:
root123
# The maximum number of connections in the idle connection pool. If it <=0, no idle connections are retained.
max_idle_conns:
50
# The maximum number of open connections to the database. If it <= 0, then there is no limit on the number of open connections.
# Note: the default number of connections is 1024 for postgres of harbor.
max_open_conns:
1000
- 数据存储配置,默认harbor的数据卷配置为/data,建议修改为其他路径
#更改数据目录
data_volume: /data/harbor/db
- 日志相关配置,建议修改日志保存位置
log:
# options are debug, info, warning, error, fatal
level:
info
# configs for logs in local storage
local:
# Log files are rotated log_rotate_count times before being removed. If count is 0, old versions are removed rather than rotated.
rotate_count:
50
# Log files are rotated only if they grow bigger than log_rotate_size bytes. If size is followed by k, thesize is assumed to be in kilobytes.
# If the M is used, the size is in megabytes, and if G is used, the size is in gigabytes. So size 100, size 100k, size 100M and size 100G
# are all valid.
rotate_size:
200M
# The directory on your host that store log
location:
/var/log/harbor
- 如果使用外部反向代理访问harbor,则需要取消external_url选项的注释,然后配置相应的URL
配置完成后,依次执行./prepare(添加扫描模块) ,./install进行安装。安装完成后,就可以通过ip或域名访问harbor,如果要使用harbor的镜像扫描器,那么需要重新执行./prepare --with-clair添加harbor自带的扫描器,然后使用docker-compose -f docker-compose.yml up -d重新创建容器
Harbor https配置
在实际的生产环境中,服务器上可能同时还运行着其他的站点,通过nginx反代或者负载均衡器访问,所以我们通过配置nginx反向代理来实现harbor的https访问
harbor配置
首先修改harbor.yml,将hostname修改为域名,并将默认的http监听的80端口改成其他端口,然后打开external_uarl配置,其他配置和之前保持一致
hostname:harbor.xxx.cn
# http related config
http:
# port for http, default is 80. If https enabled, this port will redirect to https port
port:
8081
# https related config
#https:
# https port for harbor, default is 443
#  port: 4433
# The path of cert and key files for nginx
#  certificate: /data/harbor/ssl/harbor.evobot.cn_chain.crt
#  private_key: /data/harbor/ssl/harbor.evobot.cn_key.key
# # Uncomment following will enable tls communication between all harbor components
# internal_tls:
#   # set enabled to true means internal tls is enabled
#   enabled: true
#   # put your cert and key files on dir
#   dir: /etc/harbor/tls/internal
# Uncomment external_url if you want to enable external proxy
# And when it enabled the hostname will no longer used
external_url:
https://harbor.xxx.cn
然后依次执行./prepare,./install 进行安装,安装完成后,harbor的各个容器会自动启动,因为修改了默认的http端口,所以在安装完成后,还需要修改common/config/core/env文件,否则在执行docker login时会出现如下报错:
Error response from daemon: Get https://harbor.xxx.cn/v2/: Get http://harbor.xxx:8081/service/token?account=hill.li&client_id=docker&offline_token=true&service=harbor-registry: net/http: request canceled while waiting for connection (Client.Timeout exceeded while awaiting headers) (Client.Timeout exceeded while awaiting headers)
env文件中的EXT_ENDPOINT默认是http并且带有修改后端口的值,如果这个端口在服务器上没有开放访问,那么会导致我们无法成功执行docker push
EXT_ENDPOINT=http://harbor.ndgratus.cn:8081
将地址改为我们的https地址,并删除端口号如下
EXT_ENDPOINT=https://harbor.ndgratus.cn
保存后,执行docker-compose up -d重新启动harbor容器
nginx配置
upstream harbor {
    server localhost:8081 weight=1;
}
server{
        listen 80;
        server_name harbor.xxx.cn;
        return 301 https://harbor.xxx.cn$request_uri;
}
server{
        listen 443 ssl http2;
        server_name harbor.xxx.cn;
        ssl_certificate   /etc/nginx/ssl/harbor.xxx.cn.crt;
        ssl_certificate_key  /etc/nginx/ssl/harbor.xxx.cn.key;
        ssl_session_timeout 5m;
        ssl_ciphers ECDHE-RSA-AES128-GCM-SHA256:ECDHE:ECDH:AES:HIGH:!NULL:!aNULL:!MD5:!ADH:!RC4;
        ssl_protocols TLSv1 TLSv1.1 TLSv1.2;
        ssl_prefer_server_ciphers on;
        location / {
               proxy_pass http://harbor;
               client_max_body_size 2g;
               client_body_buffer_size 512k;
               proxy_buffer_size 4k;
               proxy_buffers 6 32k;
               proxy_buffering off;
               proxy_request_buffering off;
               proxy_busy_buffers_size 64k;
               proxy_temp_file_write_size 512k;
               #proxy_set_header Host $host;
               proxy_set_header X-Real-IP $remote_addr;
               proxy_set_header X-Forwarded-For $proxy_add_x_forwarded_for;
               proxy_set_header Upgrade $http_upgrade;
               proxy_set_header Connection "Upgrade";
               proxy_set_header X-Forwarded-Proto $scheme;
   }
}
nginx的配置中,需要注意两个配置:
- 一个是client_max_body_size,这个值如果配置的过小,会导致docker push体积比较大的镜像时失败,所以根据实际需求配置相应的大小
- 第二个是proxy_set_header Host $host;,这个配置是注释掉的,如果打开这个配置,会导致docker push镜像时报错unknown blob
配置完成后启动nginx就可以使用https进行镜像的pull和push
模拟镜像推送
推送
默认docker是禁止使用http进行镜像推送和拉取的,所以如果没有配置https,需要在/etc/docker/daemon.json中添加配置
{
  "registry-mirrors": ["http://harbor.xxx.cn"],
  "insecure-registries": ["harbor.xxx"]
}
然后使用下面的命令给镜像打tag
docker tag mysql:5.7 harbor.xxx.cn/library/mysql:5.7
接着使用docker登陆到harbor
docker login harbor.xxx.cn -uadmin -pxxxx
执行push
docker push harbor.xxx.cn/library/mysql:5.7
拉取
在harbor仓库里得镜像,harbor提供了直接命令可以直接拉取
docker pull harbor.xxx.cn/library/mysql@sha256:82a3bf0e57ad53ae65cef3b0aa3a93a1508490e20db0cf6c4e8da776f1e1f48d
 微信
微信
 支付宝
支付宝