
CentOS7部署Zabbix5.0
系统环境
CentOS版本:7.6
Zabbix版本:5.0.1
zabbix是一个企业级解决方案,支持实时监控数千台服务器,虚拟机和网络设备采集百万级监控指标
Zabbix特征
指标收集:从任何设备、系统、应用程序上进行指标采集
问题监测:定位智能阀值
可视化:单一界面管理平台
告警和修复:确保及时,有效的告警
安全和认证:保护您所有层级的数据
轻松搭建部署:大批模板、开箱即用、节省您宝贵的时间
自动发现:自动监控大型动态环境
分布式监控:无限制扩展
名词术语
Zabbix 系统有一些自己定义的专业术语,为更好的熟悉系统名词,下面主要介绍本文以及zabbix常用的术语
主机(host):一台你想监控的服务器、工作站、交换机等网络设备,用IP或者域名表示
主机组(host group):多台具有某种相同角色、属性的集合。例如所有Windows服务器放在一个叫“Windows server”的主机组中
监控项(item):想要监控、获取主机或者主机组的哪些数据,例如:我想要监控所有机器的CPU使用情况,则需要建一个监控项,用于获取所有服务器的CPU使用率
触发器(trigger):由逻辑表达式组成的按照预先设置好的阀值来评估由监控项采集到的数据。触发器有两种状态,分别为“问题”和“已解决”。例如:在上述通过监控获取了CPU的使用率,例如我想超过CPU使用超过80%的就预警,则可以创建一个触发器,当监控项获取的值超过80%时就按照预设的情况报警,状态为“问题”,低于80%时认为报警解除,状态恢复为“已解决”
事件(event):单次发生的需要注意的事情,例如上述触发器状态由问题变成了正常或者由正常变成了问题,均可以称为一个事件。事件包括触发器事件、自动发生事件、自动注册事件和内部事件4个部分
动作(action):一个对事件做出反应的预定义的操作:例如CPU使用超过80%时,触发器状态变成了问题,即产生了一个事件,我们可以针对此事件预设一个动作(比如执行命令reboot),则系统全自动针对此事件的预设作执行命令reboot
Zabbix server:Zabbix 系统实现监控的核心程序,主要功能是与被监控主机、代理机等进行交互、触发器计算、发送告警通知、收集数据并存储等
Zabbix agent:一个部署在监控对象上的,能够主动监控本地资源和应用的程序;一般来讲,我们需要在所有被监控服务器上安装此程序
部署zabbix
关闭防火墙和selinux
[root@monitor ~]# sed -i 's/SELINUX=enforcing/SELINUX=disabled/' /etc/selinux/config
[root@monitor ~]# systemctl stop  firewalld
[root@monitor ~]# systemctl disable  firewalld
安装zabbix rpm源
[root@monitor ~]# rpm -Uvh https://mirrors.aliyun.com/zabbix/zabbix/5.0/rhel/7/x86_64/zabbix-release-5.0-1.el7.noarch.rpm
[root@monitor ~]# sed -i 's#http://repo.zabbix.com#https://mirrors.aliyun.com/zabbix#' /etc/yum.repos.d/zabbix.repo
[root@monitor ~]# yum clean all
[root@monitor ~]# yum makecache
安装zabbix server和agent
[root@monitor ~]# yum install zabbix-server-mysql zabbix-agent -y安装zabbix前端
[root@monitor ~]# yum install centos-release-scl -y将[zabbix-frontend]下的 enabled=0 改为 enabled=1
[root@monitor ~]# vim /etc/yum.repos.d/zabbix.repo
...
[zabbix-frontend]
name=Zabbix Official Repository frontend - $basearch
baseurl=https://mirrors.aliyun.com/zabbix/zabbix/5.0/rhel/7/$basearch/frontend
enabled=1
gpgcheck=1
gpgkey=file:///etc/pki/rpm-gpg/RPM-GPG-KEY-ZABBIX-A14FE591
...
安装zabbix前端和相关环境
[root@monitor ~]# yum install rh-php72 -y
[root@monitor ~]# scl enable rh-php72 bash
#查看版本
[root@monitor ~]# php -v
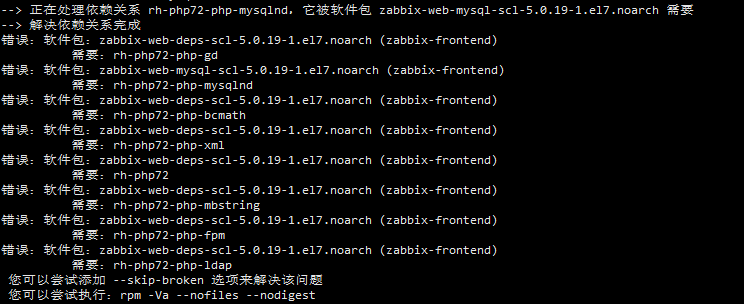
[root@monitor ~]# yum install zabbix-web-mysql-scl zabbix-apache-conf-scl -y如出现以下报错,需要先安装一下centos的仓库: yum install centos-release-scl -y 再执行上一条命令
 安装mariadb数据库
[root@monitor ~]# yum install mariadb-server -y
[root@monitor ~]# systemctl start mariadb
[root@monitor ~]# systemctl enable mariadb
初始化数据库
[root@monitor ~]# mysql_secure_installation
NOTE: RUNNING ALL PARTS OF THIS SCRIPT IS RECOMMENDED FOR ALL MariaDB

      SERVERS IN PRODUCTION USE!  PLEASE READ EACH STEP CAREFULLY!


In order to log into MariaDB to secure it, we'll need the current

password for the root user.  If you've just installed MariaDB, and

you haven't set the root password yet, the password will be blank,

so you should just press enter here.


Enter current password for root (enter for none):    直接回车

OK, successfully used password, moving on...


Setting the root password ensures that nobody can log into the MariaDB

root user without the proper authorisation.


Set root password? [Y/n] y           是否设置root密码:输入y

New password:                             自行设置数据库的root密码

Re-enter new password:               再次确认密码

Password updated successfully!

Reloading privilege tables..

 ... Success!


后面的一直回车即可
zabbix数据库配置
创建zabbix数据库及数据库用户
[root@monitor ~]# mysql -uroot -p123456
MariaDB [(none)]> create database zabbix default character set utf8 COLLATE utf8_bin;
Query OK, 1 row affected (0.00 sec)

MariaDB [(none)]> grant all privileges on zabbix.* to 'zabbix'@'%' identified by "123456";
Query OK, 0 rows affected (0.00 sec)

MariaDB [(none)]> flush privileges;
Query OK, 0 rows affected (0.00 sec)

[root@monitor ~]# zcat /usr/share/doc/zabbix-server-mysql*/create.sql.gz | mysql -uzabbix -p123456 -Dzabbix
注:语法为 -u数据库用户名称 -p 以交互方式输入密码   -Dzabbix 指定数据库名字
[root@monitor ~]# zcat /usr/share/doc/zabbix-server-mysql*/create.sql.gz | mysql -uzabbix -p123456 -Dzabbix
注:语法为 -u数据库用户名称 -p 以交互方式输入密码 -Dzabbix 指定数据库zabbix配置及前端页面安装
修改zabbix server配置文件里的数据库信息
vim /etc/zabbix/zabbix_server.conf
#找到DBPassword= ,将数据库密码改为zabbix数据库的密码
...
DBUser=zabbix
DBPassword=123456
...
修改zabbix php配置文件里的时区
[root@monitor ~]# vim /etc/opt/rh/rh-php72/php-fpm.d/zabbix.conf
...
php_value[date.timezone] = Asia/Shanghai
启动zabbix服务
[root@monitor ~]# systemctl restart zabbix-server zabbix-agent httpd rh-php72-php-fpm
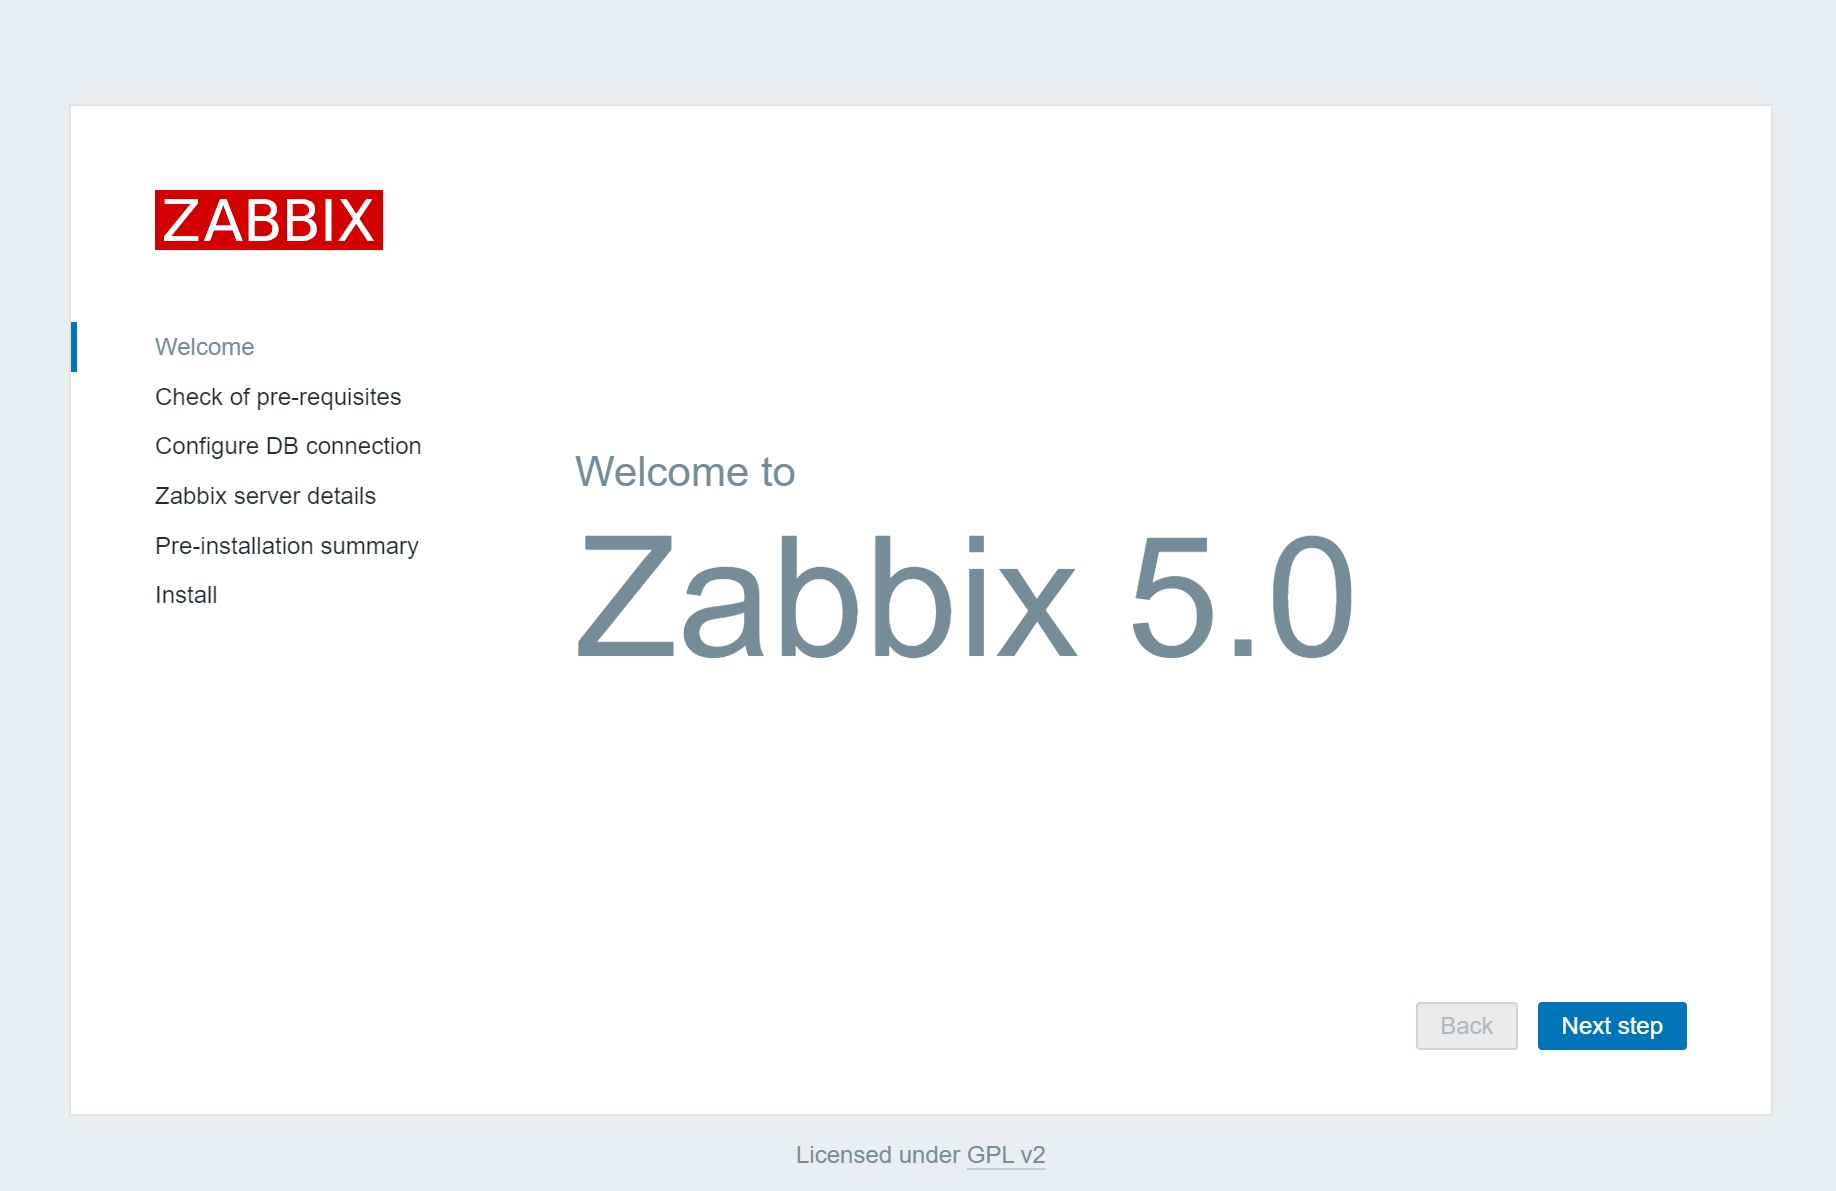
[root@monitor ~]# systemctl enable zabbix-server zabbix-agent httpd rh-php72-php-fpm使用浏览器访问zabbix web页面继续安装,浏览器输入 http://IP/zabbix
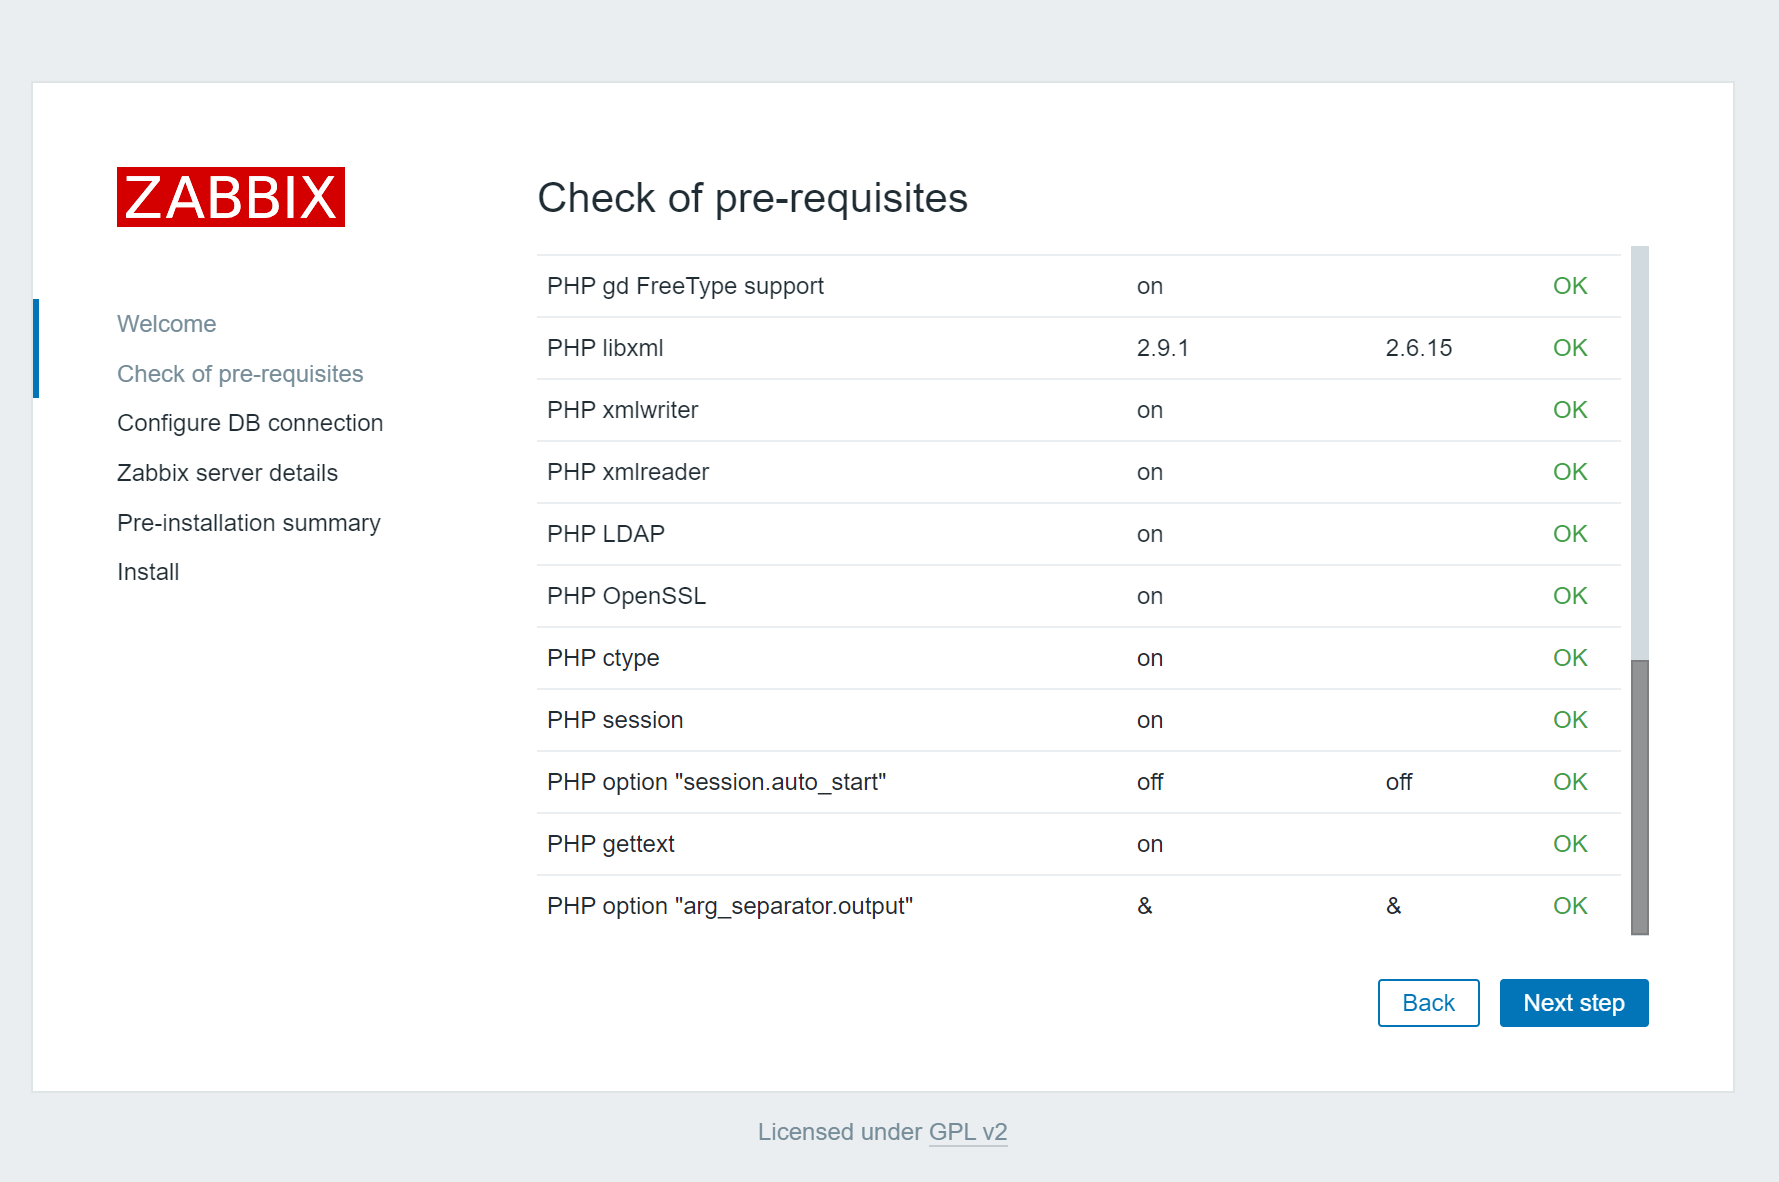
 自动检查环境,所有选项都为OK则点击Next step进行下一步
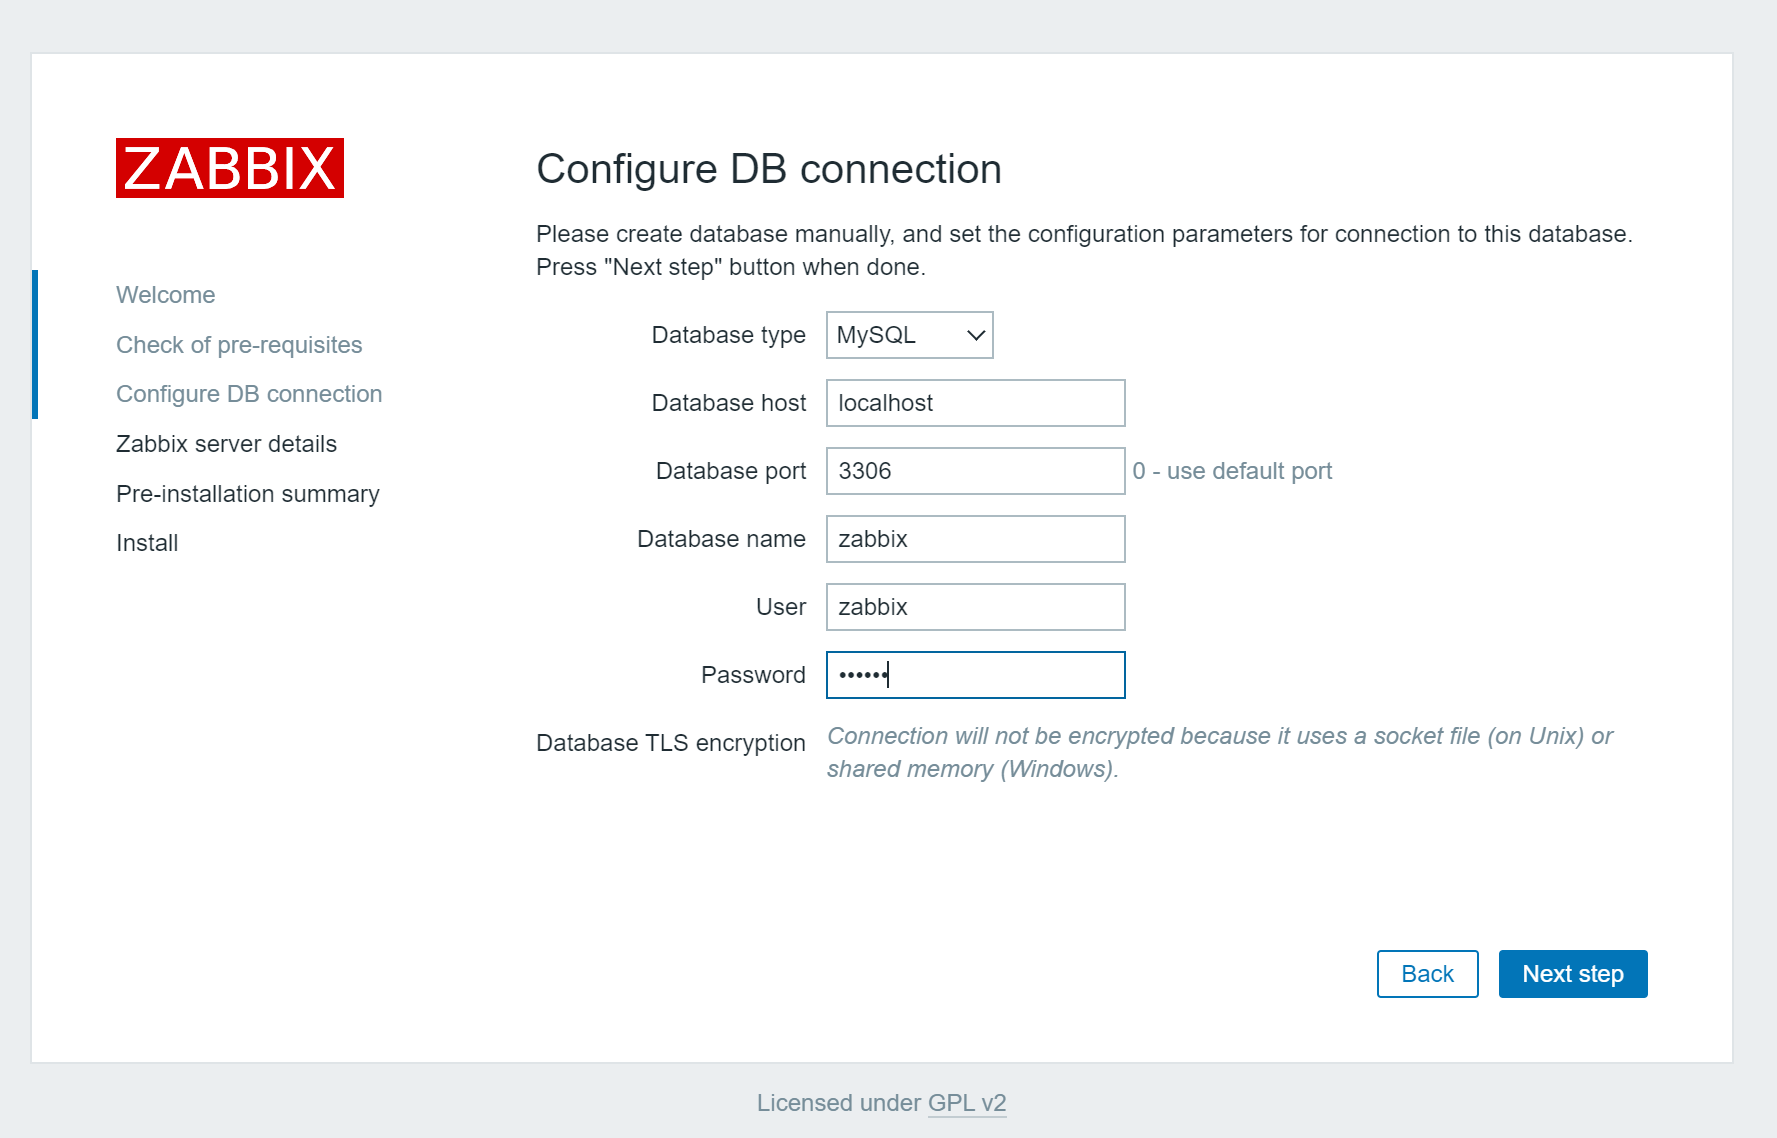
 配置数据库连接,port填写0为默认3306端口,配置正确的host、name、password后点击Next step进行下一步
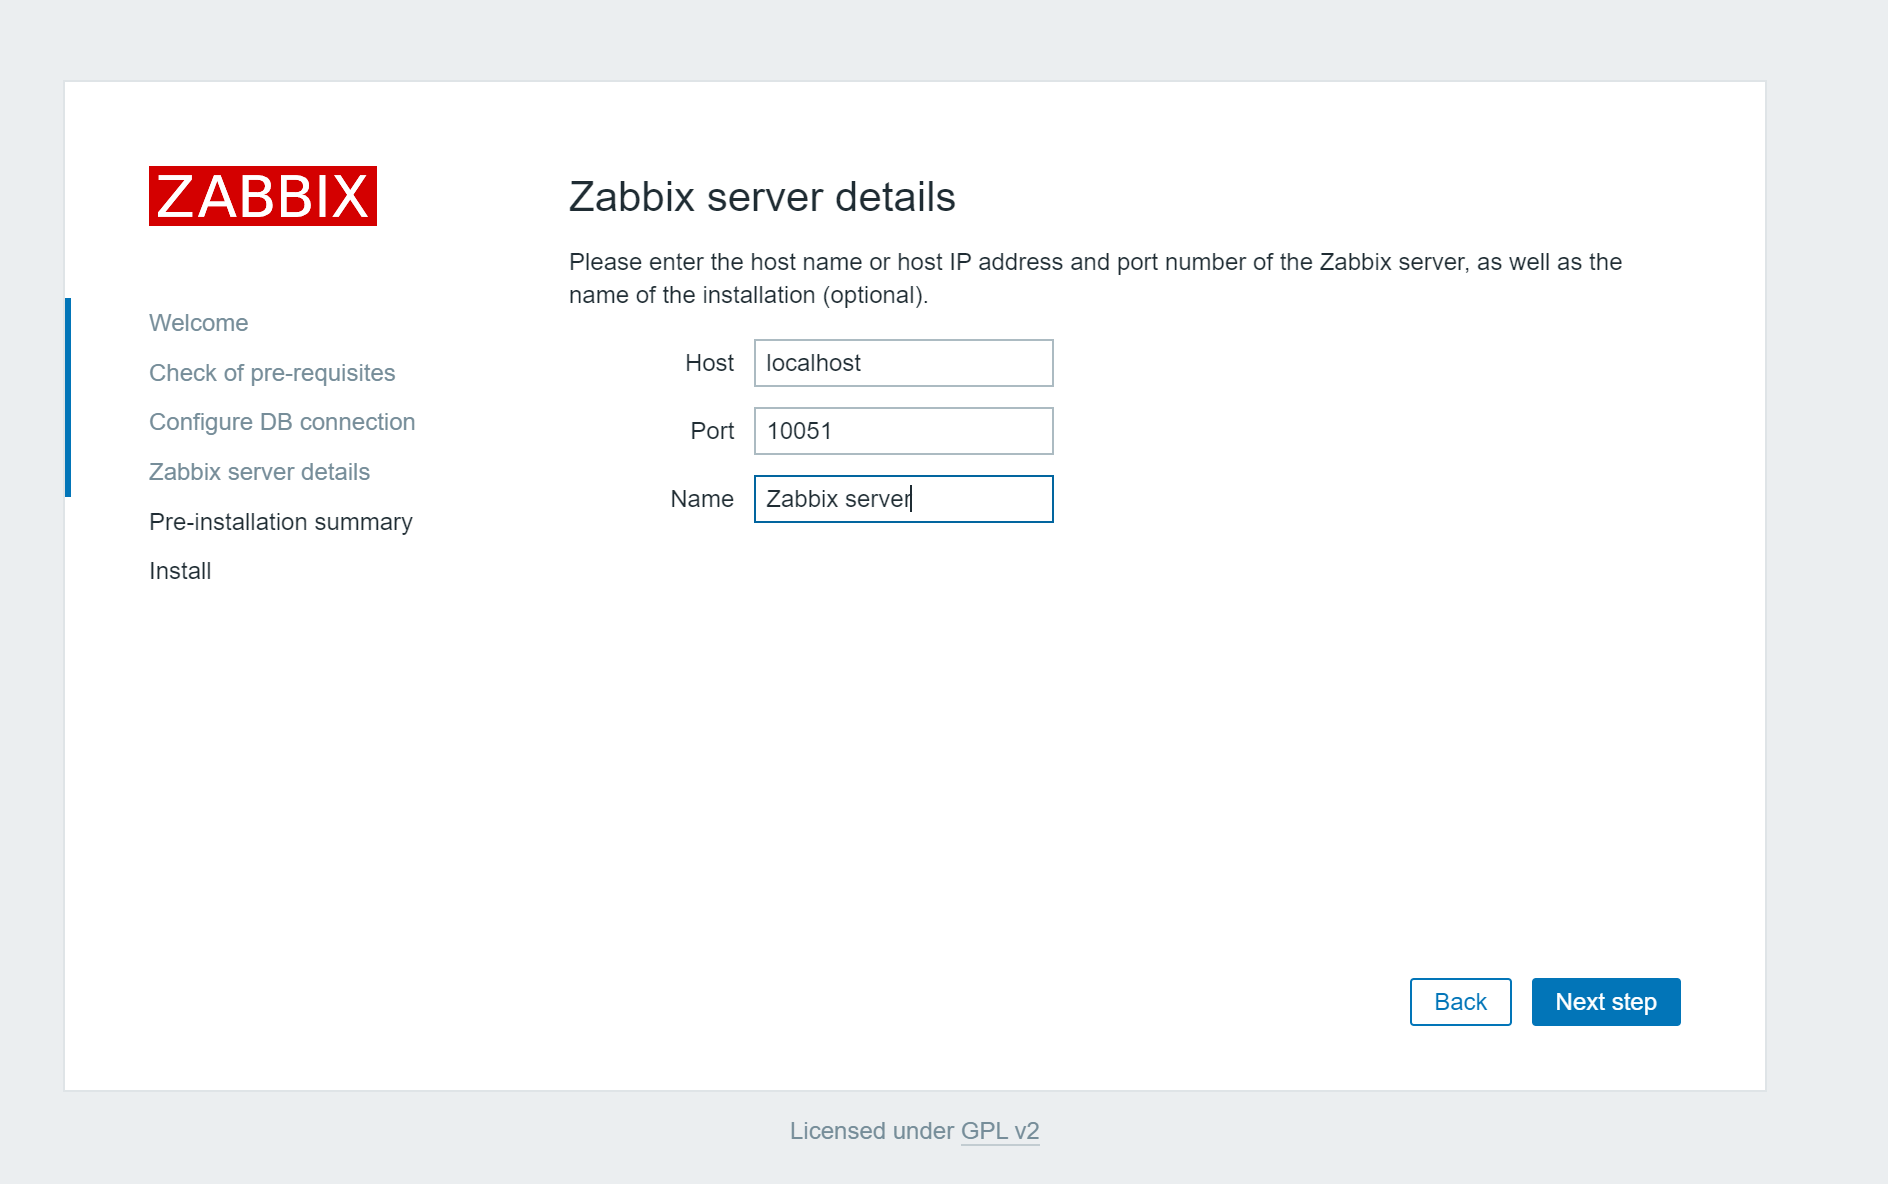
 Zabbix server配置默认无需修改,直接点击Next step进行下一步
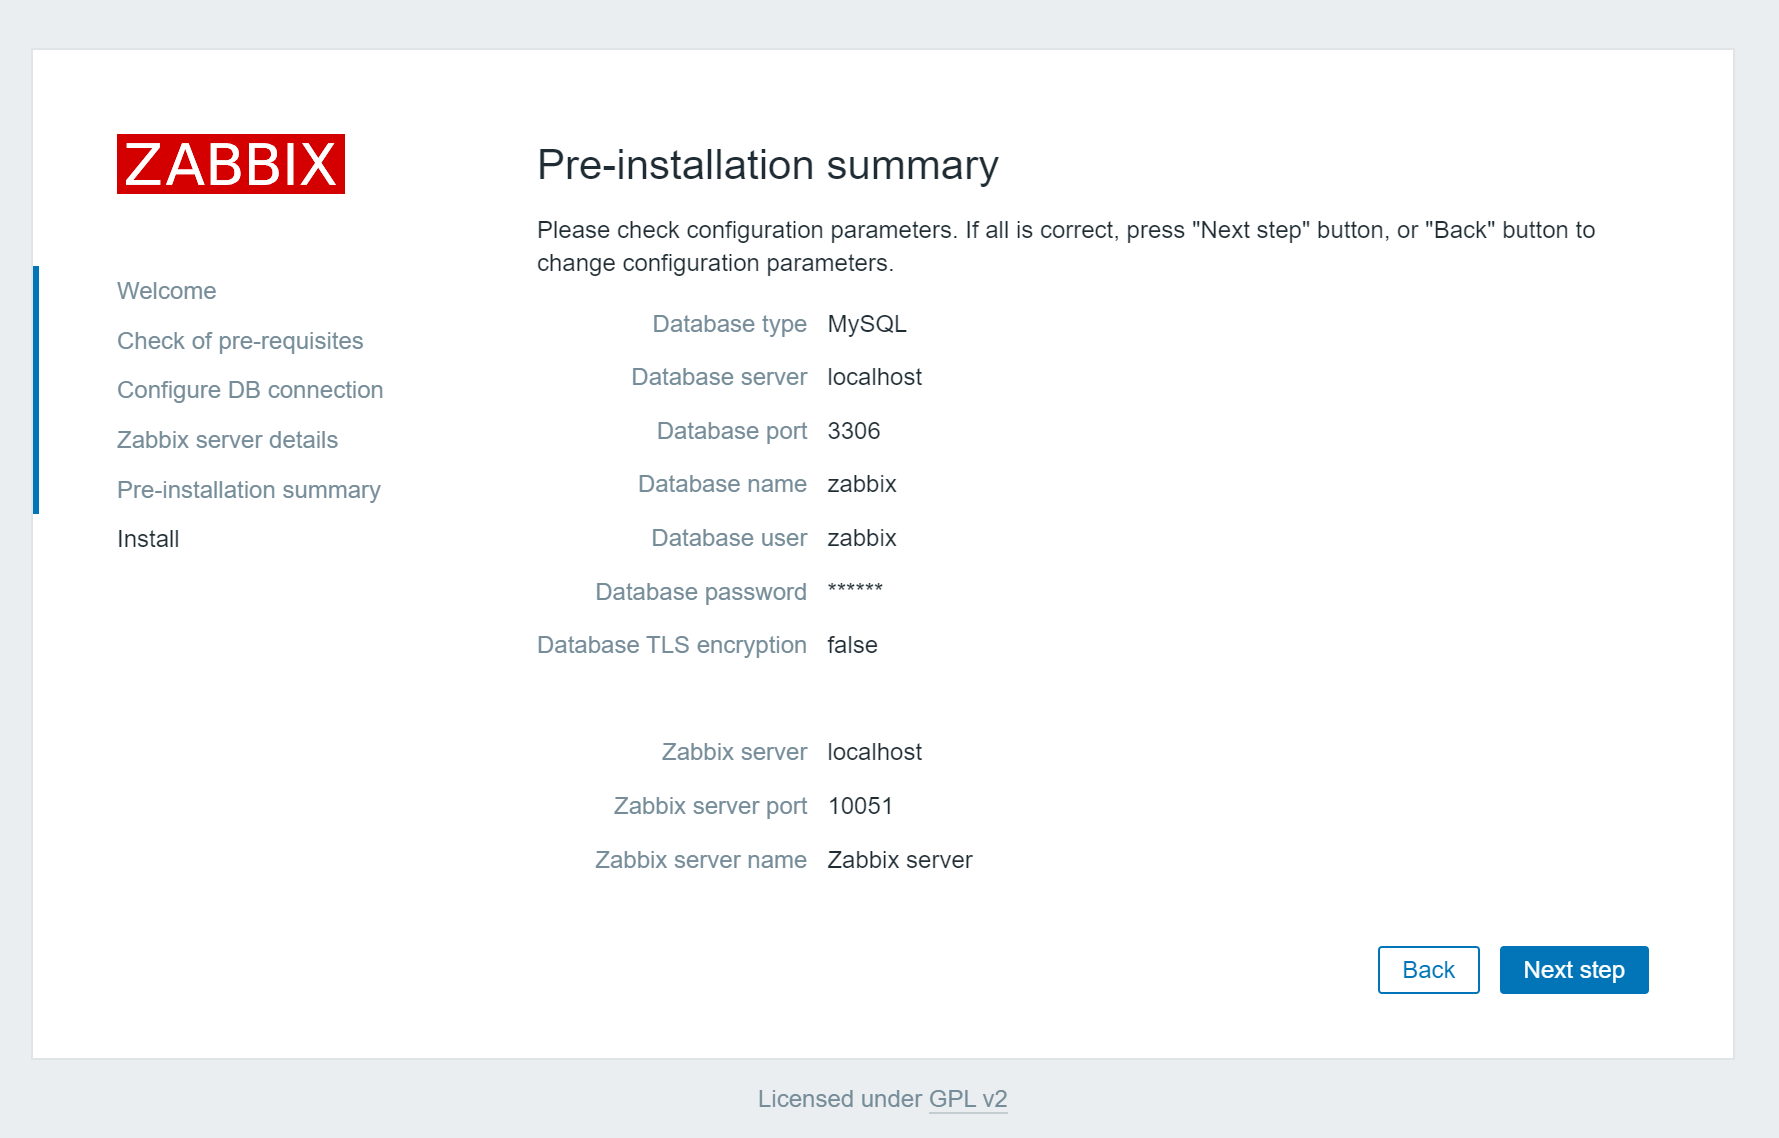
 检查所有参数,然后点击Next step进行下一步
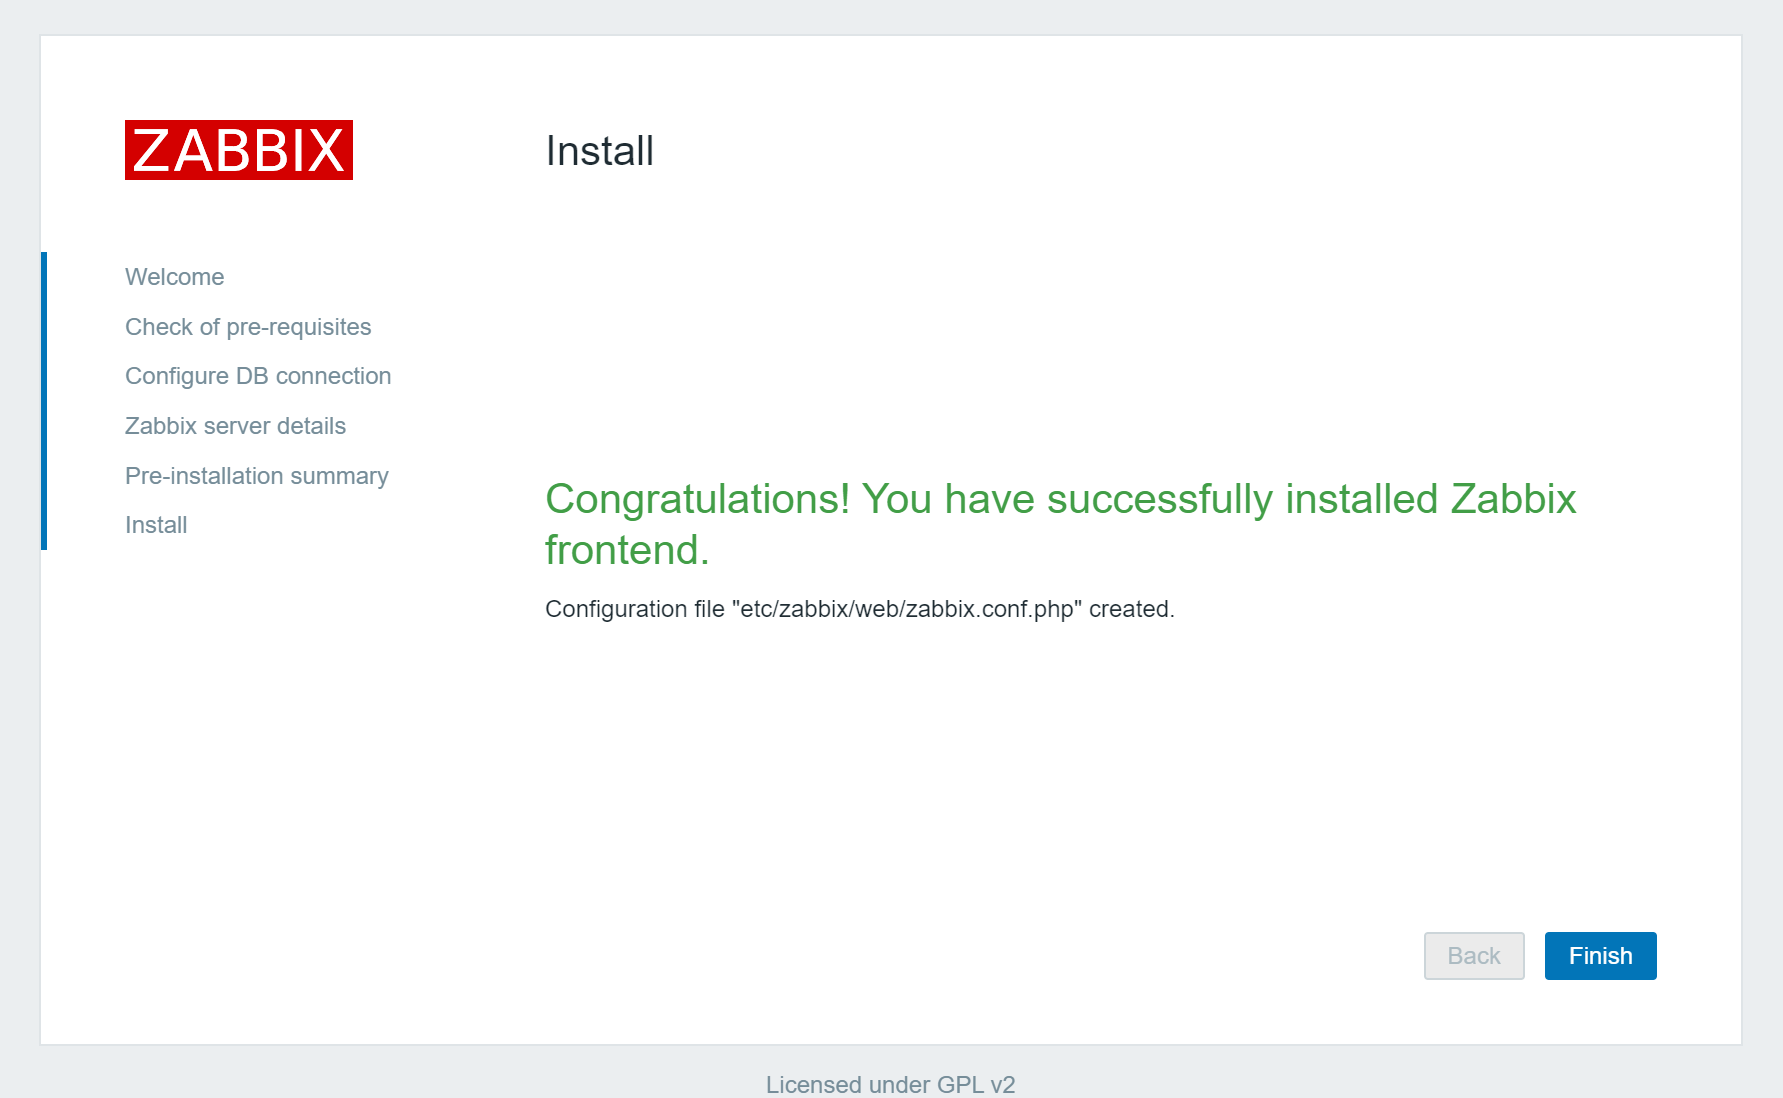
 如下界面则zabbix安装完成,点击Finish完成安装
 登录zabbix,默认用户名为:Admin,密码为:zabbix
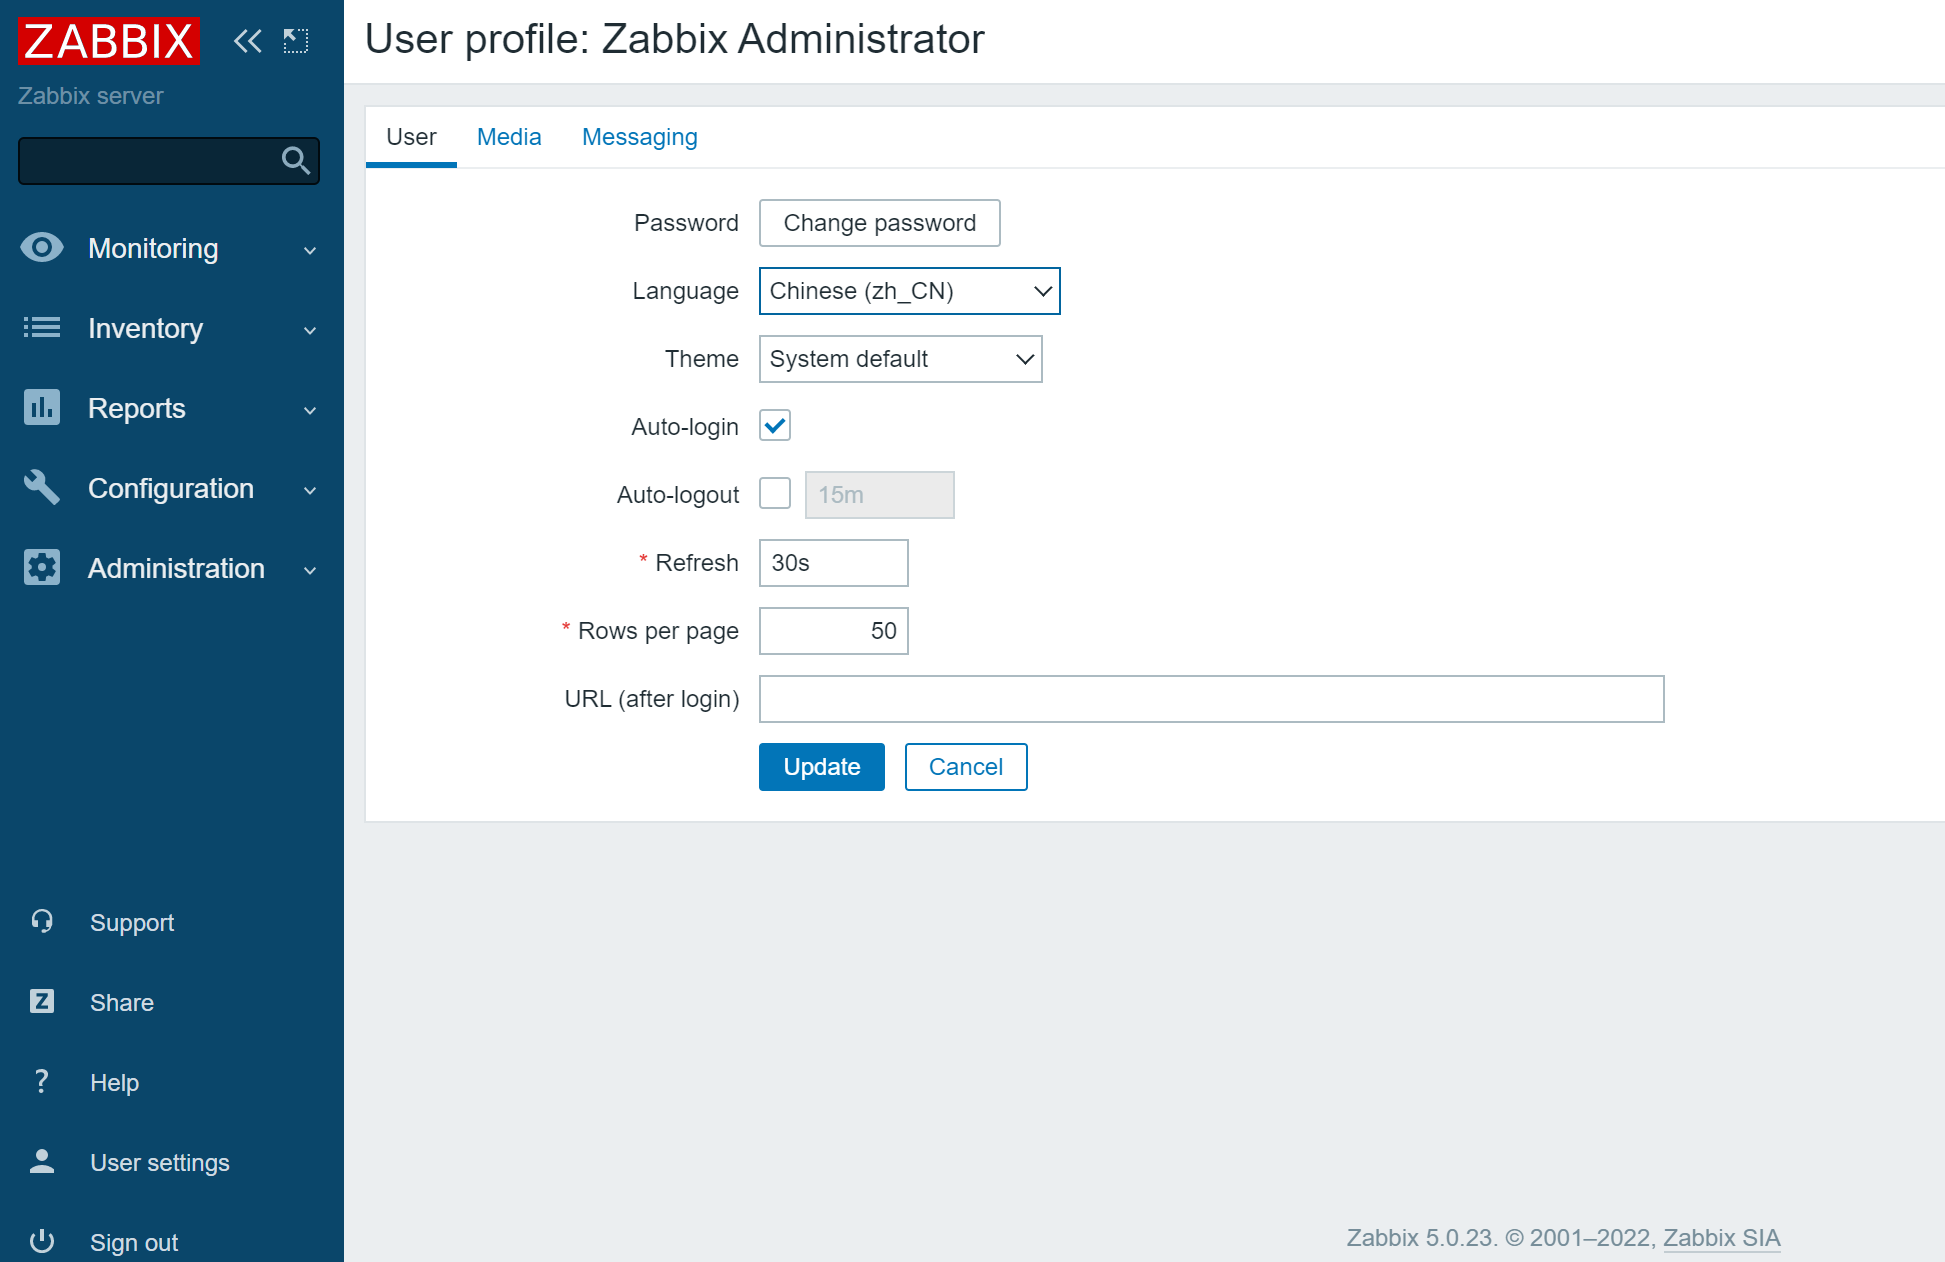
配置中文语言
点击左下角User settings,选择Language为Chinese(zh_CN)
 解决Zabbix中文字体乱码
进行监控的时候,我们如果发现页面是这样的

第一步
进入/usr/share/zabbix/assets/fonts文件夹,把准备好的字体ttf文件放到里面,改名为simsun.ttf.
第二步
修改配置文件
vim /usr/share/zabbix/include/defines.inc.php
...
#把其中的XXXX换成simsun
define('ZBX_GRAPH_FONT_NAME', 'XXXX'); // font file name
...
第三步:
刷新页面,就会正常显示啦
 微信
微信
 支付宝
支付宝